Stage 1 of 4
Connect your wallet securely
Start the MetaMask/OKX flow and approve a single signature so FRB can confirm ownership without touching custody.
Non-custodial by design — no seeds, no private keys, just a reversible session signature for 2026 Agave/Firedancer auth.
Institutional Safety Standard
Connections are handled via standard EIP-4361 (Sign-In with Ethereum) protocols. FRB NEVER asks for your seed phrase or private keys. The session is isolated and client-side only.
Connection Flow
Follow these verified steps to safely link your operational wallet for mempool scanning.
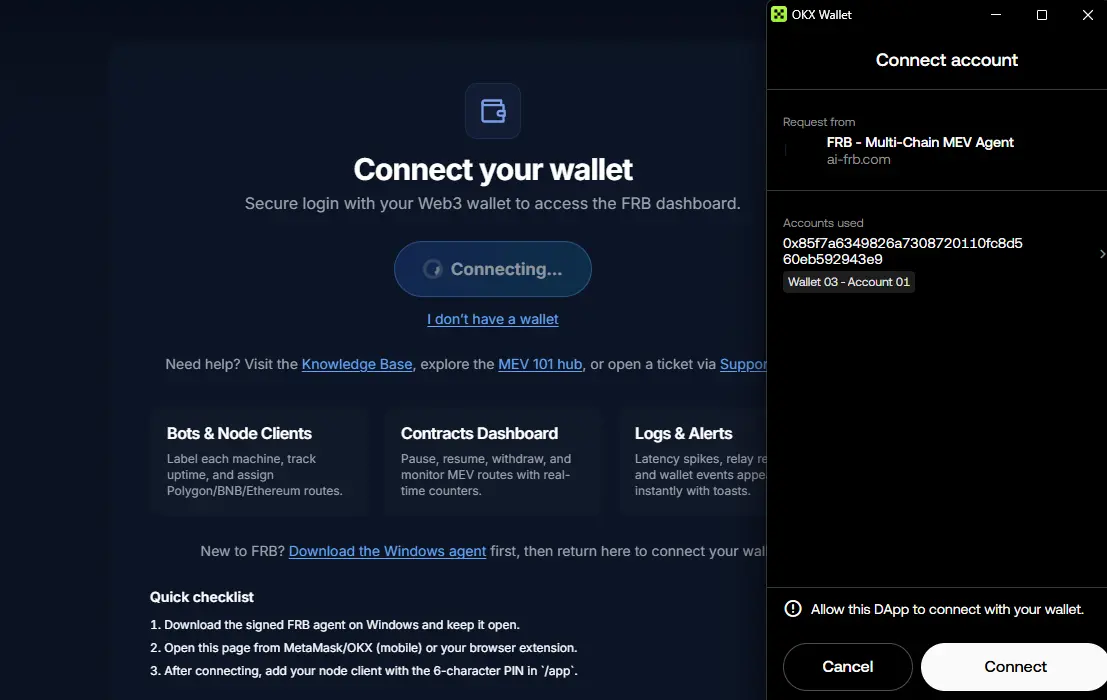
Click Connect Wallet
Click the button below to link a Web3 wallet. Your browser will open a secure page where you can connect via MetaMask (or any other wallet).

Select Your Wallet
Pick the Web3 wallet you’d like to link to FRB. You’ll be asked to approve one signature; no funds will be moved.
Connection Complete
Once connected, your wallet address will be displayed, indicating a successful connection. You can now proceed with deploying your contract.

Need a refresher? View the wallet connection guide